STEP 1: Choosing and felling your trees
Choose a healthy hardwood tree with a diameter of no more than 8 inches at the bottom. Selecting a tree is dependent on what mushroom you are growing. Ideal candidates for Shiitake are Oak or Sugar Maple, due to the higher density of the wood. Oyster Mushrooms prefer softer hardwoods such as Poplar, Birch and Beech. Avoid Black Walnut, Elm, Ash and any softwoods. It is important to start with a live, healthy tree to ensure it has adequate moisture content and that it is free of any competing fungi or disease.
Fell your tree(s) and cut it into 3 foot lengths with a minimum diameter of 4 inches. Place your cut logs into a sheltered area, out of the sun and wind and let them sit for 2 weeks. This resting period allows for cell dieback to begin prior to inoculation. The logs can be inoculated the next day if you can’t wait, however the logs should still be soaked overnight.

STEP 2: Soaking
After the 2 week rest period, soak your logs in water for 24 hours. A rain barrel, baby pool, stock tank, creek or pond could work for this. This step ensures the logs will be well hydrated prior to inoculation.
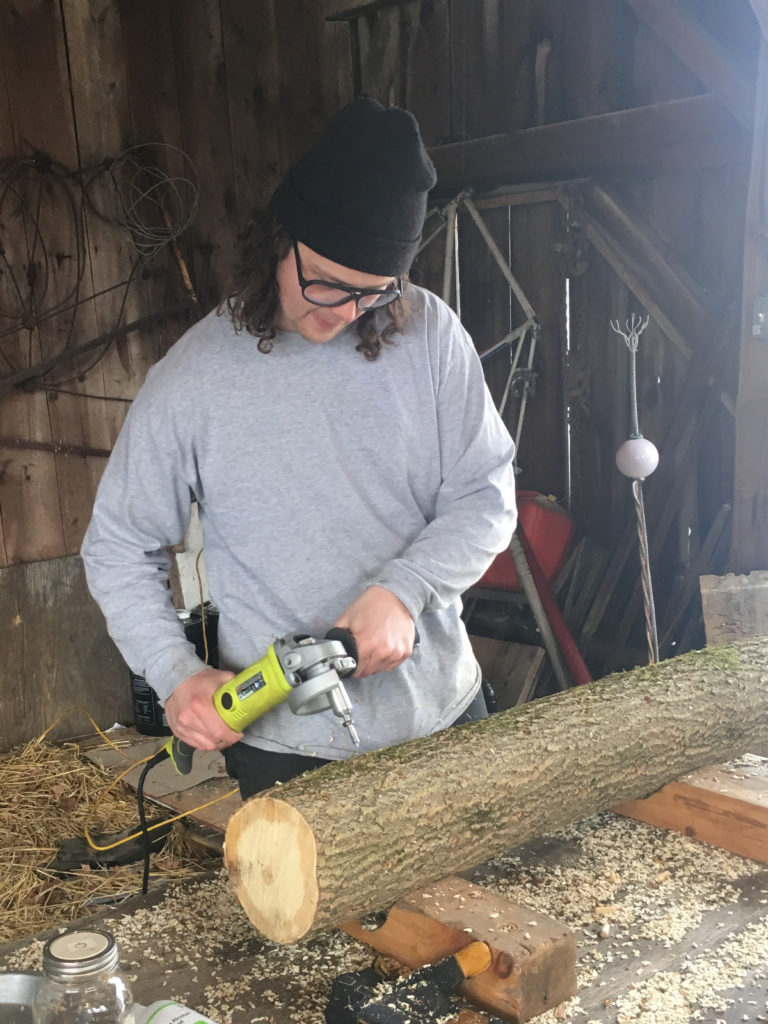
STEP 3: Drilling
Once the logs have soaked, remove them from the water and allow exterior to dry. Letting the logs dry a bit helps to keep them clean and ensures that the sealing wax adheres well to the bark. You will need a 8.5mm or 5/16 drill bit, and a drill, preferably corded. Specialized drill bits and angle grinder attachments designed for drilling mushroom logs are recommended if doing 10+ logs. Drill holes about 1 1/4 inch deep, every 4 inches lengthwise along the log. Rotate the log and drill another line, offsetting the holes so they form a diamond pattern. Each hole should be roughly 4 inches apart.
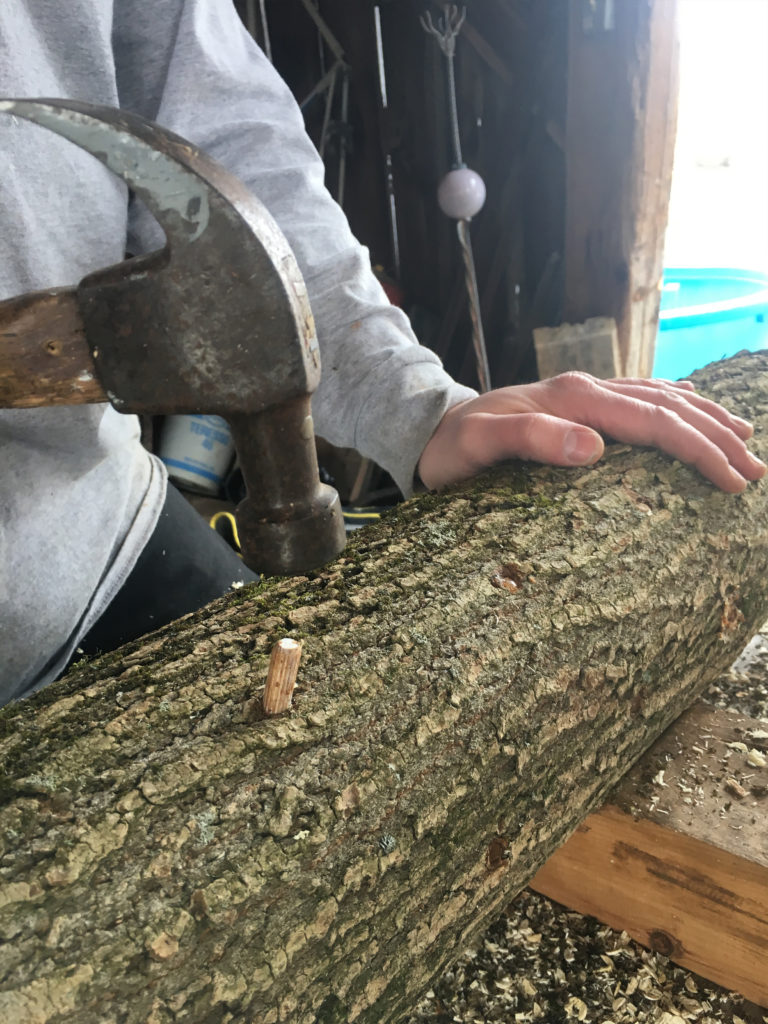
STEP 4: Plugging
The average 3 foot log will require around 50 plugs. Shake the jar to break up the plug spawn. Place a plug in each hole, and hammer them in. Once the log is fully plugged you must seal the holes with wax. Beeswax, soy or cheese wax can be used to seal the holes. Melt the wax slowly and use a paintbrush or a foam dabbing brush to seal each hole with a small dab of wax. The wax protects the plugs from pests and competing bacteria. Once all the holes are sealed your logs are done and ready for placement.
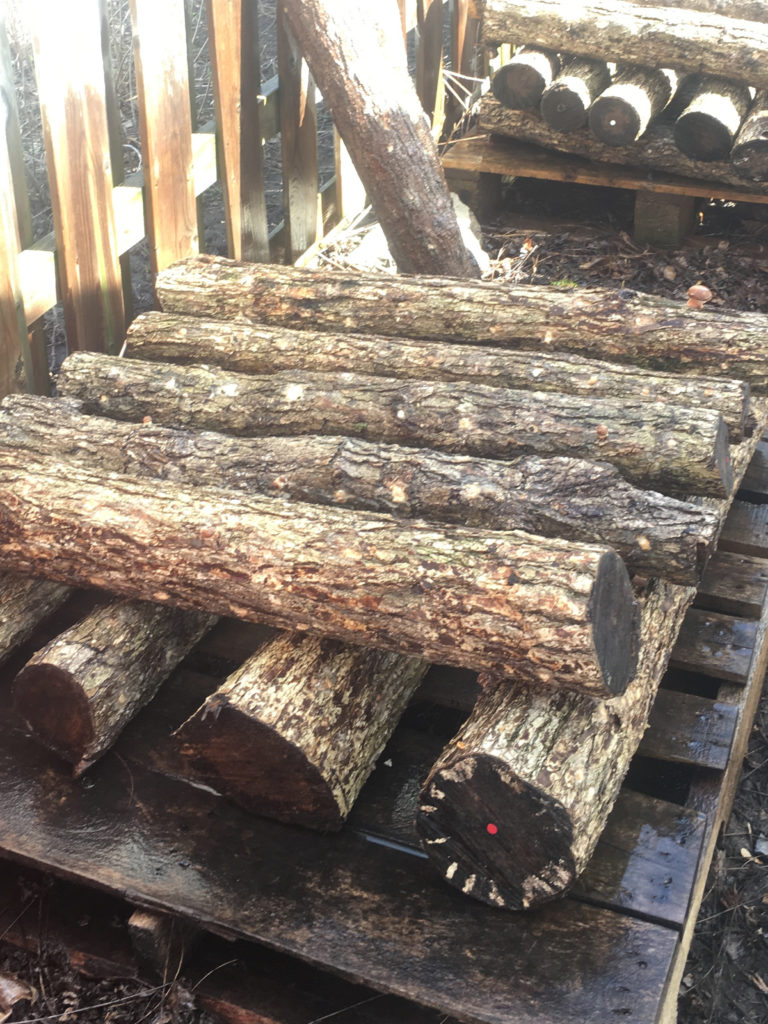
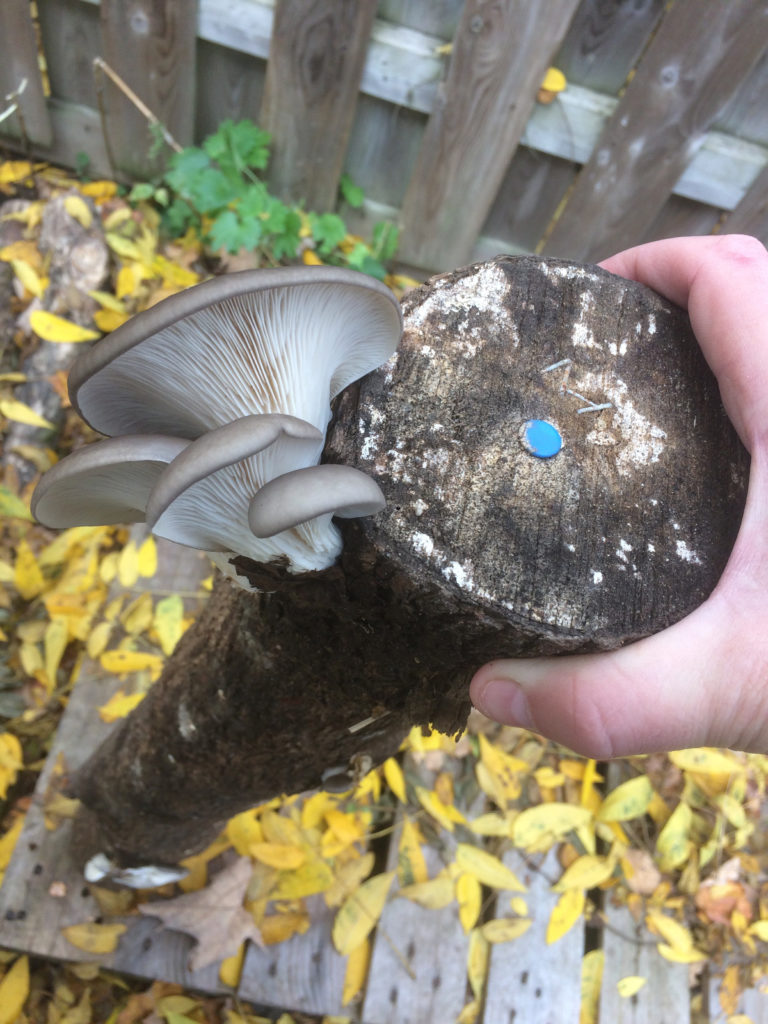
STEP 5: Placement
Find a shaded location for your log, direct sunlight and wind can dry out the log and kill the fungus. Do not place logs directly on the ground. An old pallet is perfect for stacking logs on. It will take roughly 6 months for the log to fully colonize and about a year before you will see any mushrooms. If your logs seem dry, water them with a hose. The logs can overwinter in the same location. Shiitake and Oyster are cooler weather mushrooms, so they will likely fruit in spring and late summer/fall. Expect to see mushrooms roughly 12 months after plugging, but its not likely you will see significant yields until 18-24 months. See the Mushroom Log Care section for a more detailed explanation of how to care for your logs. This section also contains links to resources with comprehensive information on log cultivation and pictures of techniques and stacking methods.